“I observe and tell visual stories about people”
Hi, Hoi, Hallo, Grüezi, Bonjour,
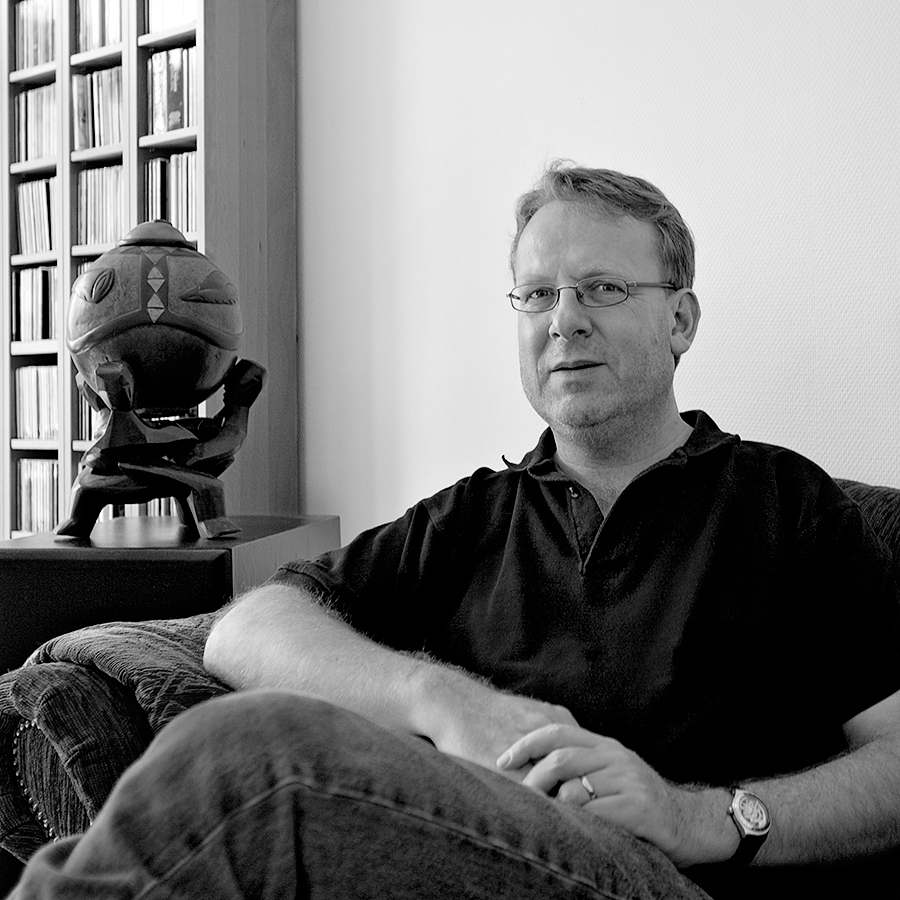
nice to see you here, my name is Vincent de Groot. I’m a Dutch independent photographer living in the center of Europe where the Swiss, French and German borders come together.
My work covers portrait, street and reportage photography. In all areas people are the common subject I am telling visual stories of people, their feelings and emotions.
Portrait
With my camera, I visit many places on the globe where I meet people. I see them and try to understand how and for what they live. There might be differences related to culture, religion and tradition but when it comes to emotions and feelings people all over the world share common needs they strive for. Happiness, recognition and respect from others are common even when the way how they enjoy and show those feelings and emotions might be very different. We all deserve equal rights but, we should never forget: We are all unique personalities and all are making our world colorful.
I like to discover personalities and emotions which, at the first moment often remain hidden. Words in a common language are not needed to uncover them. Exchanging a glance, a short smile, a gesture; a kind of “flirting” reveals them in a natural way. With the portraits I show here, I share the precious moments I had with those people.
Street
Street Photography is very different, here it is all about the hidden beauty of every-day’s scenes happening in the streets. Moments where people become performers in their environment. Frozen motions are resembling a feeling of an elegant dance which may continue at any moment in your imagination.
Reportage
The portraits and street photography are short encounters, a single image tells the viewer a story about the people. Some aspects in life need a series of images to tell a more complete story. On the website I show various reportages dealing with culture, religion and tradition, again people are in the center.
Want to know more?
Read more about me, my photography and this website here.